For Insurance Agents

Join PolicyVera as an Agent

Step-by-step setup guide for new agents joining the platform. From registering your account to receiving your first lead โ€” about 15 minutes of setup, then leads start flowing.

6 steps~15 min setupNo subscription fees

Why agents join PolicyVera

๐Ÿ’ผ

Local Idaho leads

Clients matched to you based on your license states, lines of business, and proximity. No spammy out-of-state stuff.

๐Ÿ’ฐ

No subscription fees

Free to join. Free to keep your profile up. Pay only a small bind fee when you actually close a deal.

๐Ÿค

Direct client communication

When a client accepts your quote, you can call, text, or email them directly. PolicyVera doesn't get in the way.
Step 1

๐Ÿ“ Create your agent account

โฑ 2 minutes
1

Go to policyvera.com/register

Visit the registration page directly or click 'Get Started' on the homepage.

2

Choose 'Agent' role

On the registration form, select 'Agent' as your role. The form will expand to ask for your agency name and license information.

3

Fill in your basic info

Name, email, password (8+ characters), agency name, license number, and the states you're licensed in. Most Idaho agents will just check 'ID' โ€” but if you also write in WA, OR, MT, or UT, check those too.

4

Verify your email

Check your inbox for a 6-digit code. Enter it on the verification page. The code expires in 15 minutes โ€” request a new one if needed.

Step 2

โณ Wait for admin approval

PolicyVera manually verifies every agent. This protects consumers and keeps our platform high-quality.

โฑ Usually within 1 business day
1

We verify your license

Our admin team checks your license number with the Idaho Department of Insurance (or the relevant state DOI). Once verified, your account is approved.

2

You get notified by email

When you're approved, you'll receive an email: 'Your agent account has been verified and approved.' You can now log in fully and access agent features.

3

What if I'm not approved right away?

If we can't verify your license, we'll email you to confirm details. Most issues are typos โ€” a quick reply gets things moving.

Step 3

๐Ÿข Complete your agent profile

Your profile is what clients see when they pick an agent. Spend the time to make it strong.

โฑ 10 minutes
1

Go to Profile from your agent dashboard

After login, click 'Profile' or 'Agent Profile' in the menu.

2

Upload a professional photo

Headshot, clear face, friendly. This shows up everywhere your name appears. Clients say a photo is the #1 reason they trust an agent profile.

3

Add your business address

Street, city, state, ZIP. This helps clients in your area find you and lets PolicyVera match local leads to you. Coordinates are auto-geocoded.

4

Set your business email and phone

Where clients can reach you directly. This becomes visible to clients only AFTER they grant contact permission (when accepting a quote).

5

Add your calendar link (recommended)

Calendly, Google Calendar, or similar. Clients can book meetings with you directly from your profile. This dramatically improves conversion.

๐Ÿ’ก Tip: Don't have Calendly? Set one up at calendly.com โ€” free tier works fine. Set 15-min and 30-min slots for 'Insurance consultation'.

6

Select your lines of business

Auto, Home, Renters, Life, Commercial, Umbrella, Health, Motorcycle, Boat, Flood โ€” check everything you write. Only check what you actually quote โ€” clients will be matched based on this.

7

Accept the agent agreement

Review and accept PolicyVera's agent agreement. Required to start receiving quote requests.

Step 4

๐Ÿ’ณ Add a payment method

โฑ 3 minutes
1

Go to Billing settings

From your dashboard, click 'Billing' or 'Payment Settings'.

2

Connect a card via Stripe

PolicyVera uses Stripe for payments โ€” same provider used by Shopify, Lyft, and Amazon. Your card info is never stored on our servers.

3

Why we need this

PolicyVera charges a small bind fee only when YOU bind a policy through the platform โ€” never any monthly subscription. No bind = no charge. This card is just on file so the fee can be processed automatically when you close a deal.

๐Ÿ’ก Tip: There are no per-lead fees, monthly minimums, or surprise charges. You pay only when you make money.

Step 5

๐Ÿ”” Set up notifications

โฑ 2 minutes
1

Email notifications are on by default

You'll get emails for new quote requests, quote acceptances, policy bound events, and lender messages.

2

Add your phone (optional)

If you'd like SMS notifications for time-sensitive events (quote acceptances, lender requests), add your phone number to your profile.

3

Adjust frequency in settings

If too noisy, you can disable specific notification types from your settings page. Most agents leave them all on.

Step 6

๐ŸŽฏ You're ready โ€” receive your first lead

โฑ โ€”
1

How leads find you

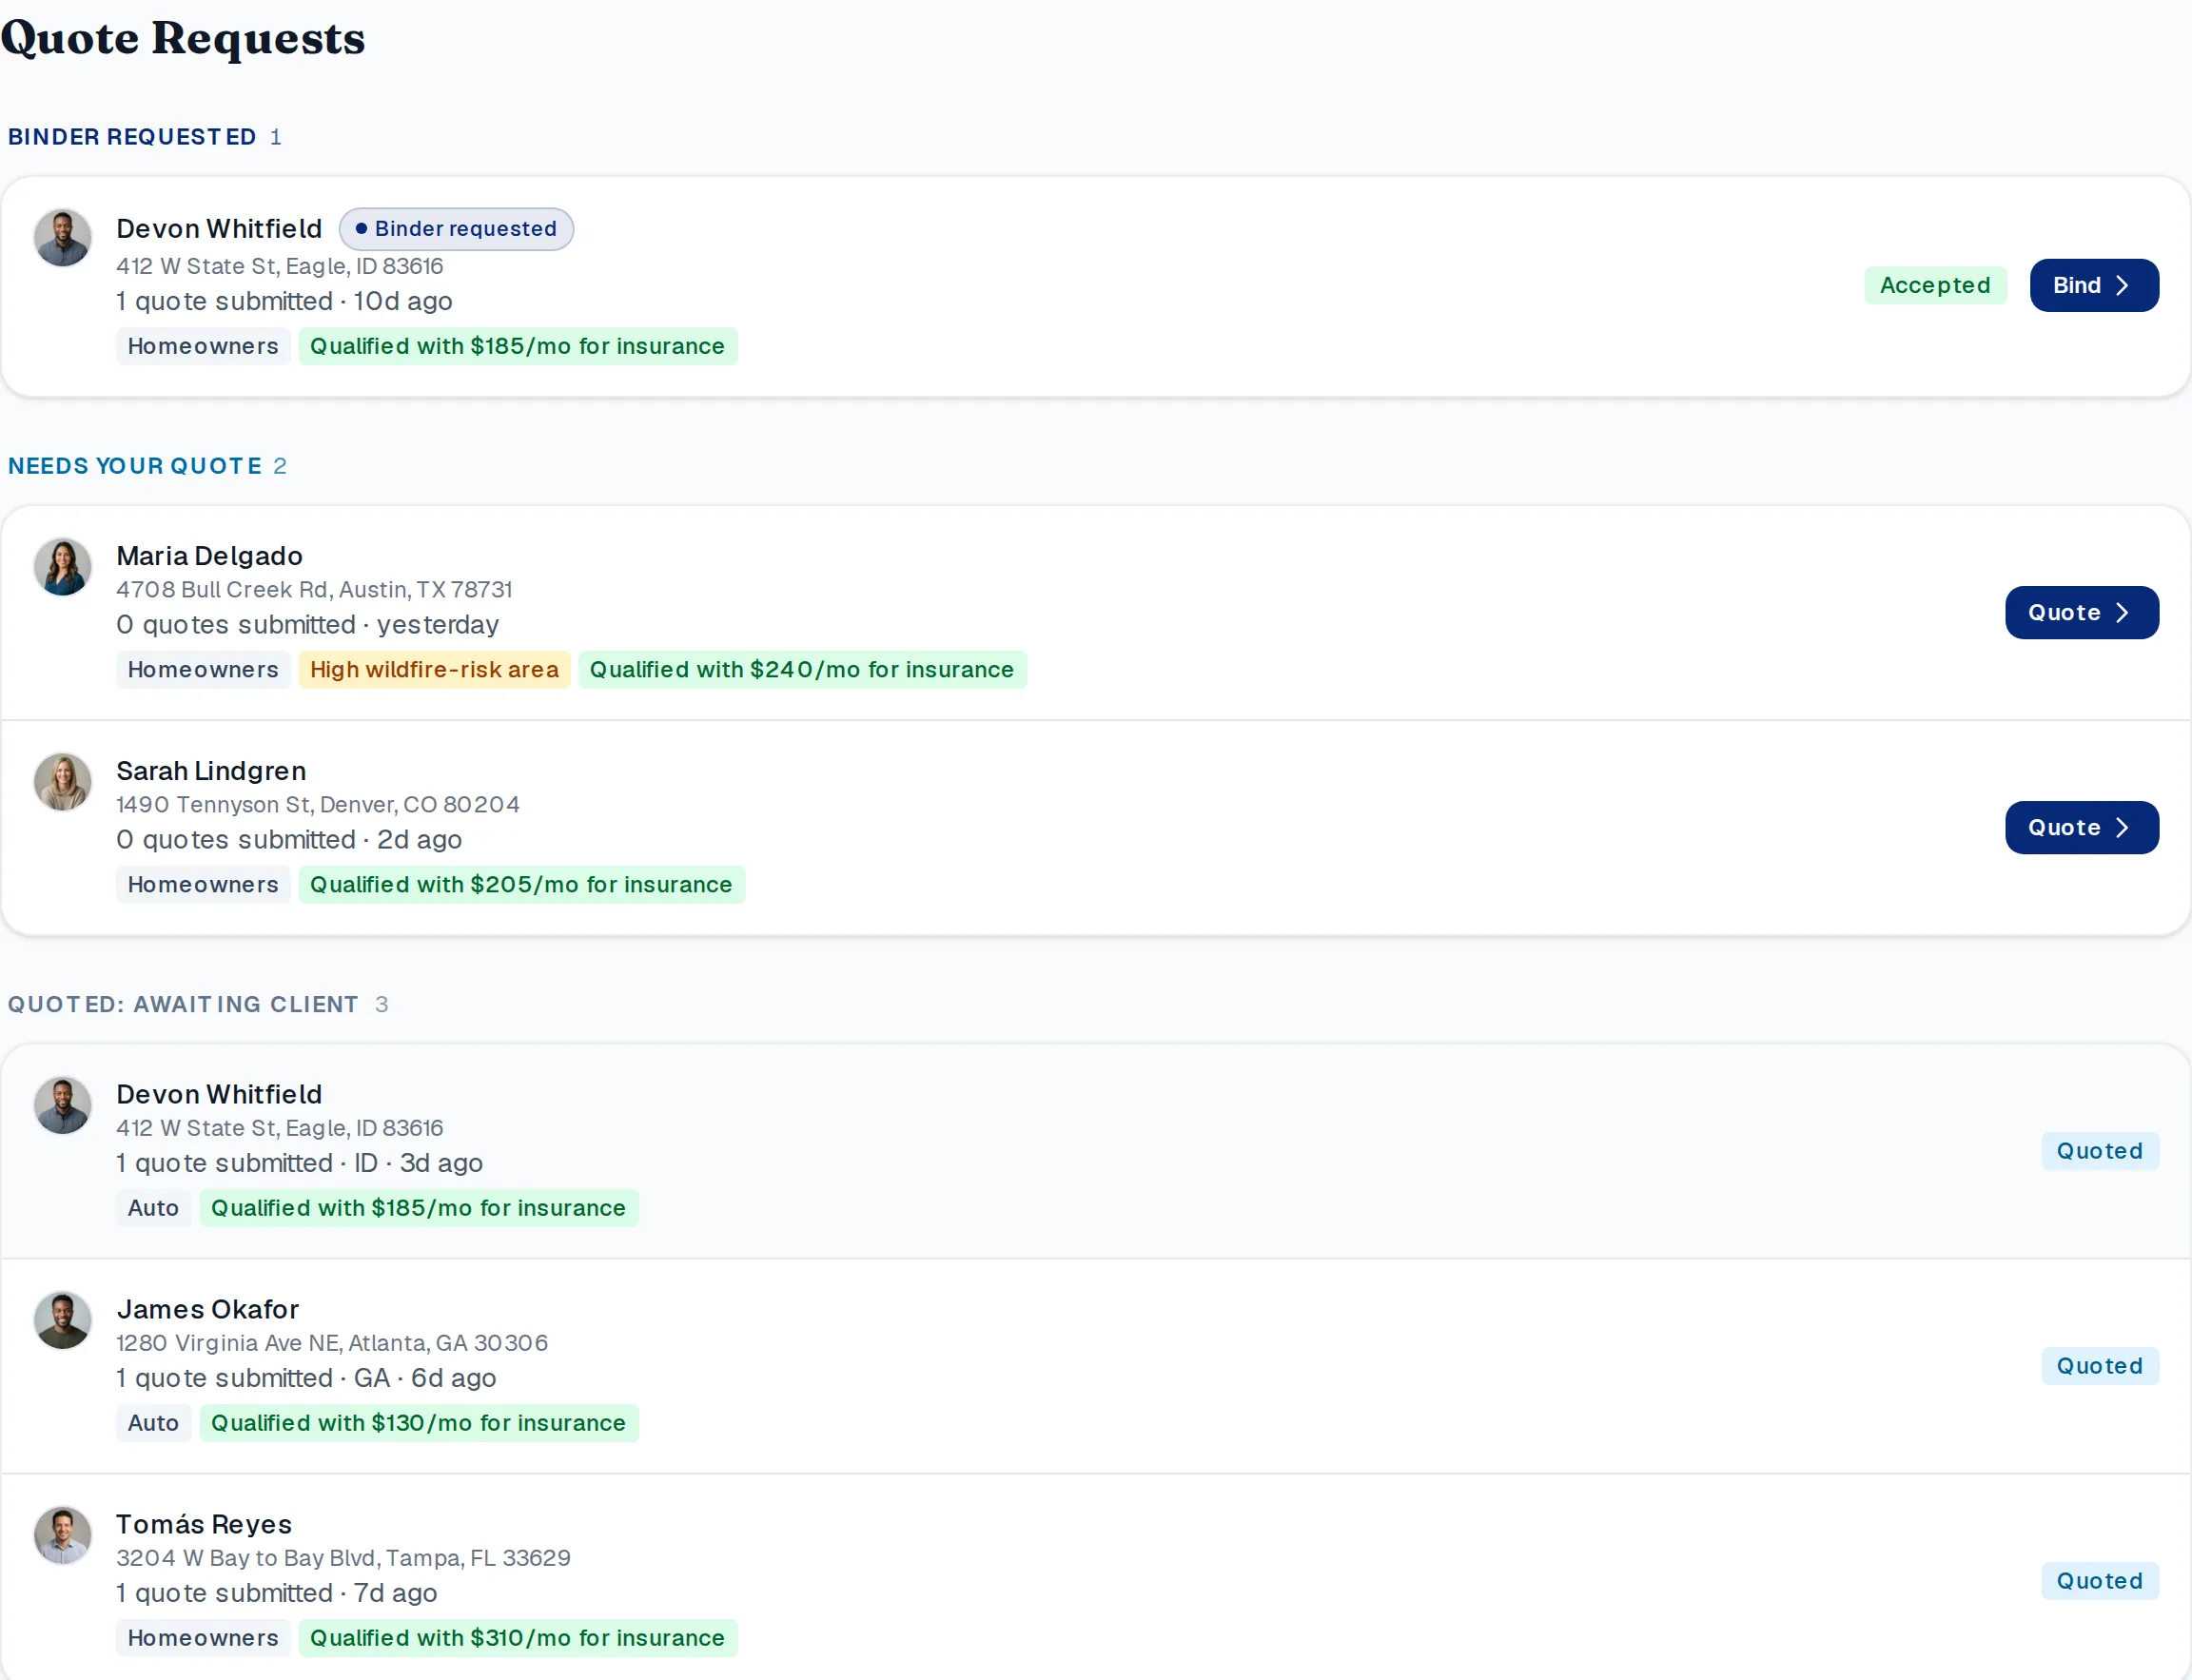
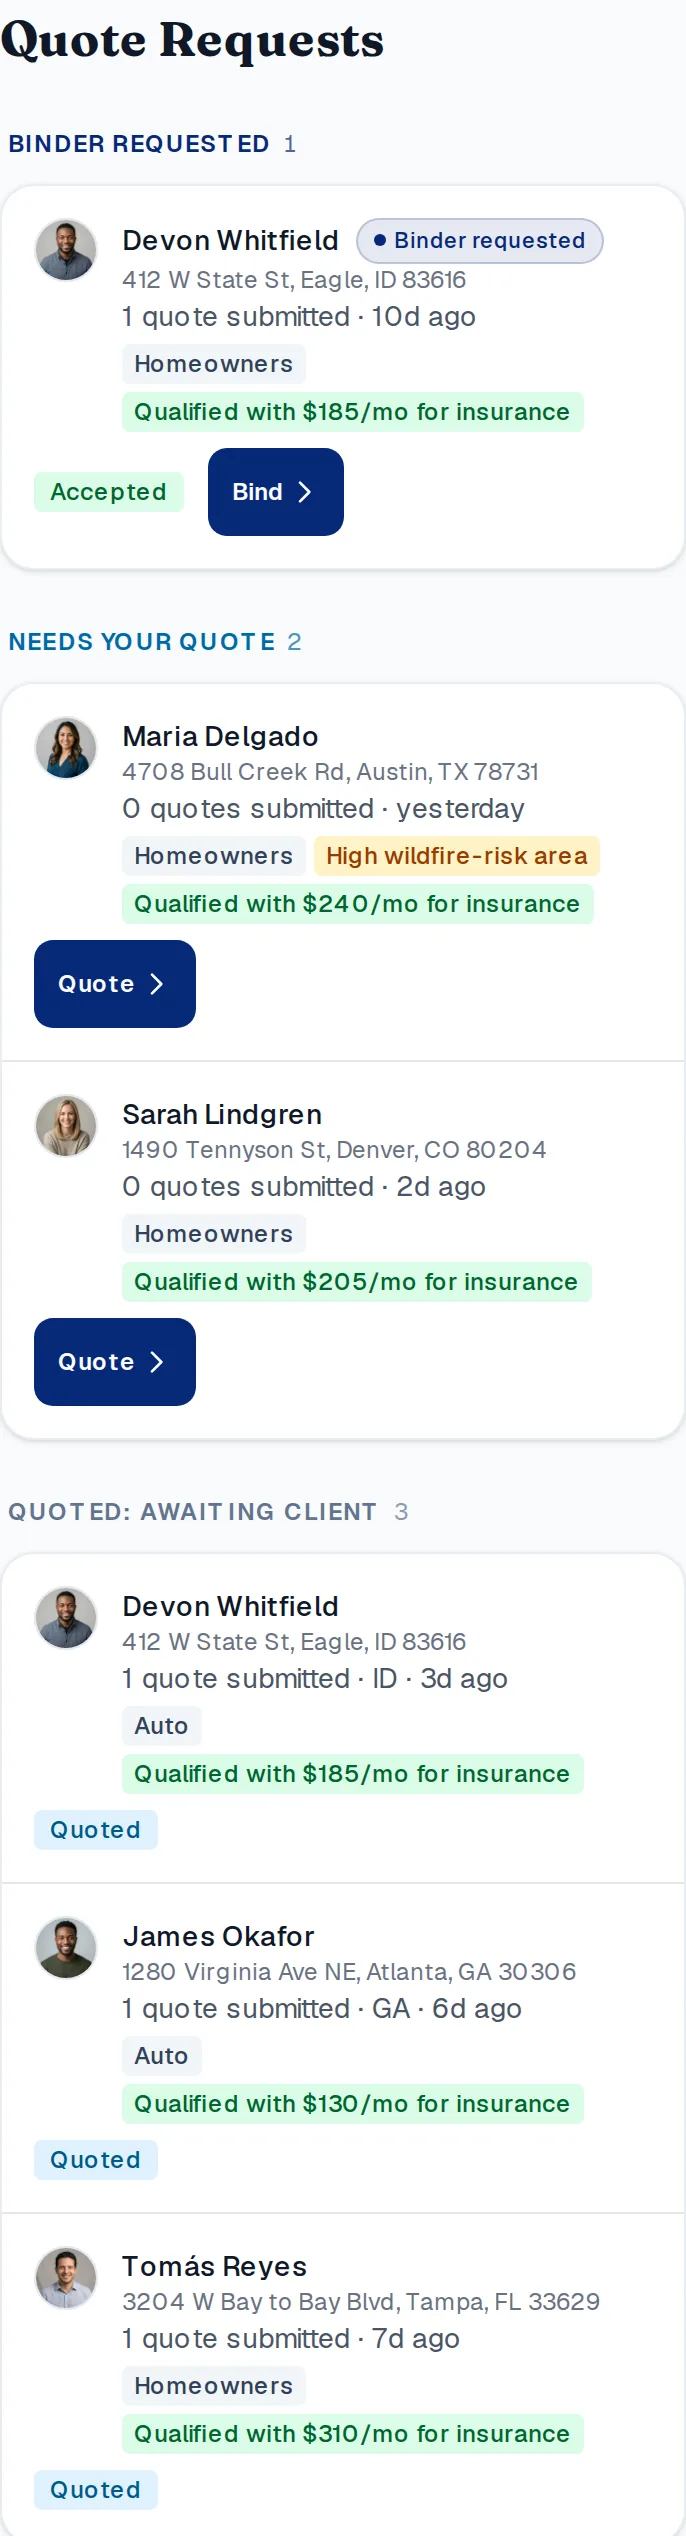
Three ways: (1) PolicyVera auto-matches you to clients based on lines of business, license states, and proximity. (2) Clients browse the agent directory and pick you. (3) A lender or partner sends you a referral.

2

What happens when a lead lands

You get an email and in-app notification: 'New quote request for [client name]'. The request appears on your dashboard with status 'Pending'.

3

How to handle the lead

We've written a separate step-by-step playbook for handling a lender-referred lead from start to finish: policyvera.com/agent-playbook. Read it before your first lead lands.

๐Ÿ’ก Tip: Lender-referred leads have closing dates and are extra time-sensitive โ€” same-day quotes win deals.

๐Ÿ“–

Next: handling your first lead

Once you're set up, read the lead-handling playbook so you know exactly what to do when a client requests quotes from you (especially lender-referred clients with closing dates).

Open the lead-handling playbook โ†’

Common questions

Are there any monthly or annual fees?โ–พ

No. PolicyVera is free to join, free to keep your profile up, and free to receive quote requests. We only charge a small bind fee when you actually bind a policy through the platform. No bind = no charge.

How much is the bind fee?โ–พ

The bind fee is a flat per-bind charge that's automatically processed when you mark a policy as bound on PolicyVera. The exact amount is shown when you set up your billing. It's significantly less than what most lead-gen platforms charge per lead.

Do I have to use PolicyVera for ALL my business?โ–พ

Not at all. PolicyVera handles only the clients that come through the platform. Your existing book of business stays on your own systems.

Can I decline a quote request?โ–พ

Yes โ€” if a request isn't a fit for you, just decline it. Other matched agents can still quote.

What if I'm not licensed in Idaho?โ–พ

Right now PolicyVera focuses on Idaho. If you're licensed in WA, OR, MT, or UT, you can list those too โ€” we'll send you any cross-border clients that come through.

How do I get verified faster?โ–พ

Make sure your license number is entered exactly as it appears on your state Department of Insurance lookup. Typos cause delays. If your application is taking more than 2 business days, email josh@policyvera.com directly.

Where do leads come from?โ–พ

Three sources: (1) auto-matched clients based on your profile and proximity, (2) the public agent directory, (3) lender and realtor referrals. We're growing all three channels.

Ready to join PolicyVera?

Register your account in 2 minutes. Verification typically within 1 business day.

Need help?

  • Email Joshua directly: josh@policyvera.com
  • Reply to any PolicyVera email โ€” we respond personally
  • After login, submit a ticket from your agent dashboard